Showing posts with label craftangles patterned paper. Show all posts

Thursday, December 5, 2019

Craftangles Christmas Challenge

Hello!

You will find all the details for the challenge at the link above.
 I hope the projects Ive made for you today will inspire you join in.


All the cards Ive made today are really simple and quick..as is my style.
I have used background papers from the Craftangles 'Merry Christmas' 6"x6" paper pack and focal images from the Craftangles Christmas Animals and Watercolour Christmas  element packs.

I first die cut each of the backgrounds using stitched rectangle dies.
I then used the smaller rectangle die from the same die set to cut out a piece of 
I layered these pieces one on top of the other and then added the fussy cut printed element with 3D foam tape as the focal point.
 I also added some gold thread and sequins on some of the cards for interest.


I hope you'll enjoyed my cards as much as I enjoyed making them.
Don't forget to link up for the Craftangles Christmas Challenge!
If you have any questions or feedback at all, please do leave me a comment.

Thanks so much for stopping by!
Have a great day!

Paru Mahtani
Paru's Perceptions


Friday, May 24, 2019

Floral cards using Craftangles elements packs

 Hello!
I have some pretty cards for you today, which I made using Craftangles floral elements packs. These are so beautiful and make the most gorgeous cards with the minimum of effort!

My first card is a mini notecard. I started with an embossed backfround. I fussy cut a floral element from the Craftangles 'Colourful flowers 6' element pack and adhered it to the base using 3D foam tape. I  stamped a sentiment on a die cut panel and added that to the card to finish. I also added some Craftangles clear sequins.

For the second card, I used a panel from the Craftangles  'Vintage rosette 3' element pack and flowers from the 'Colourful flowers 5' element pack. I stamped a sentiment over the panel and adhered it to a card base made with Craftangles 'Earl Grey' cardstock.


For the third card, I fussy cut the floral element from Craftangles 'Watercolour florals 1' elements pack. I then layered it on a plaid stamped and grey cardstock panels. 
I adhered these panels to the bright green card base. 
I gold embossed the sentiment from Craftangles 'Life is pretty amazing' 
stamp set and adhered it with 3D foam tape. I used Craftangles clear sequins to finish the card.


I hope you enjoyed these card and will give the element packs a try.
Thanks so much for stopping by.
Have a great day!

Paru Mahtani
Paru's Perceptions.


Tuesday, February 19, 2019

Shaker cards using Wanderlust patterned papers and elements pack

 Hello!
Have you seen the gorgeous new release from Craftangles!
I just love the 6"x6" patterned paper pack "Wanderlust".
I made a couple of simple shaker cards to showcase these papers as well as 
the super fun Craftangles sequin mixes.
I used the beautiful illustrations in this paper pack to make the first shaker card. 
I used the Craftangles sequins mix 'Candy blue" to represent the ocean, in the shaker.
I also fussy cut some images from the 
'Wanderlust' elements pack and added them to create some interest.
I finished the card with a sentiment from Hero Arts.


For the second card,
I used an image from the Wanderlust elements pack as the background for the shaker card.
I then added the rest of the images, also from the 'Wanderlust' elements pack and a sentiment from CAS-ual Friday stamps.


I hope you will these fun supplies a try!
Thanks so much for stopping by!
Have a great day!

Paru Mahtani

Monday, January 14, 2019

Quick love cards using patterned papers

Hello!
Today I have some quick and easy love cards  which I made using 

For the first card, I die cut a sheet of black and white patterned paper  using Simon Says Stamp square stitched dies and adhered it to a white card stock panel. I then die cut a heart using a sheet of red patterned paper and adhered this to the panel using 3D foam tape. I added a mini wooden clip and some resin dots for interest. 
The sentiment is from the Craftangles 'Will You Be Mine' stamp set. I cut apart the words of the stamp in order to make them fit in the space that I wanted to stamp them in.


For the second card, I started by adhering a patterned paper panel to the 6"x4" card base.
I then cut out two elements from the Craftangles 'Be my Valentine' elements pack and adhered them to the card. I added some Craftangles 'clear shimmer' sequins to add some interest.


For the third card, I used patterned paper to adhered to the card base. I then die cut the dancers using the red patterned paper from the paper pack. I then adhered a printed element from 
the Craftangles 'Be My Valentine' elements pack as well as some Craftangles 'ruby' sequins  to finish the card.


For the final card, I started by adhering the die cut patterned paper panel to the card base. I then stamped and fussy cut the cute image from the Craftangles 'You and Me' stamp set. I watercoloured just the hearts so as to make the image pop.
I used 3D foam tape to adhere the image to the card.
I stamped the sentiment (Paper Smooches) onto the patterned paper and added some 


I hope you enjoyed these cards and will give them a try.
Thanks so much for stopping by>
Have a wonderful day!

Paru Mahtani


Thursday, March 15, 2018

Fun with Craftangles patterned papers!

Hello!
I had a blast this week, playing with Craftangles patterned paper!
I have made two cards from each pack of patterned paper to show off their versatility.

I started with  the "Floral Exotica"  (Black Edition) paper pack.
This paper pack is SO luxurious!! I really enjoyed working with it.
The cards I made are really simple...
For the first card, I chose Earl Grey Craftangles cardstock to match the patterned paper and used it to "mat" the patterned paper.
I then heat embossed a birthday sentiment  (from Craftangles 'Congratulations' and 'Everyday Sentiments' stamp sets) on vellum and wrapped it around this panel. 
I finished the card with matching pink enamel dots.


For the second card, I used Craftangles 'Aqua' cardstock to mat the black patterned paper. I also stamped the Aqua card stock with  a Hero arts background stamp in a tone on tone colour (Tim Holtz 'Peacock Feathers' distress ink) for some interest. 
I finished the card with some aqua enamel dots.

I wish I could photograph the papers in a way to show you how gorgeous they are to the touch...you will just have to get some for yourself to try them out!! 


For the next two cards, I have used the Craftangles "All for Love"  paper pack.

For the next card, I layered three sheets of Patterned paper.
I stamped the flowers from the Craftangles 'Mom you rock' stamp set on the paper with the smallest pattern, along with a birthday sentiment from Stampendous. 
I then cut the sheet at an angle to create some interest. 
I then placed this sheet over the black ruled sheet to make it pop. 
I then adhered the entire panel on the pink patterned paper and then adhered the entire panel on a white card base.
I finished the card by adding some matte enamel dots in two shades of pink.


The thing with making cards with patterned paper is that you end up with a lot of scraps!
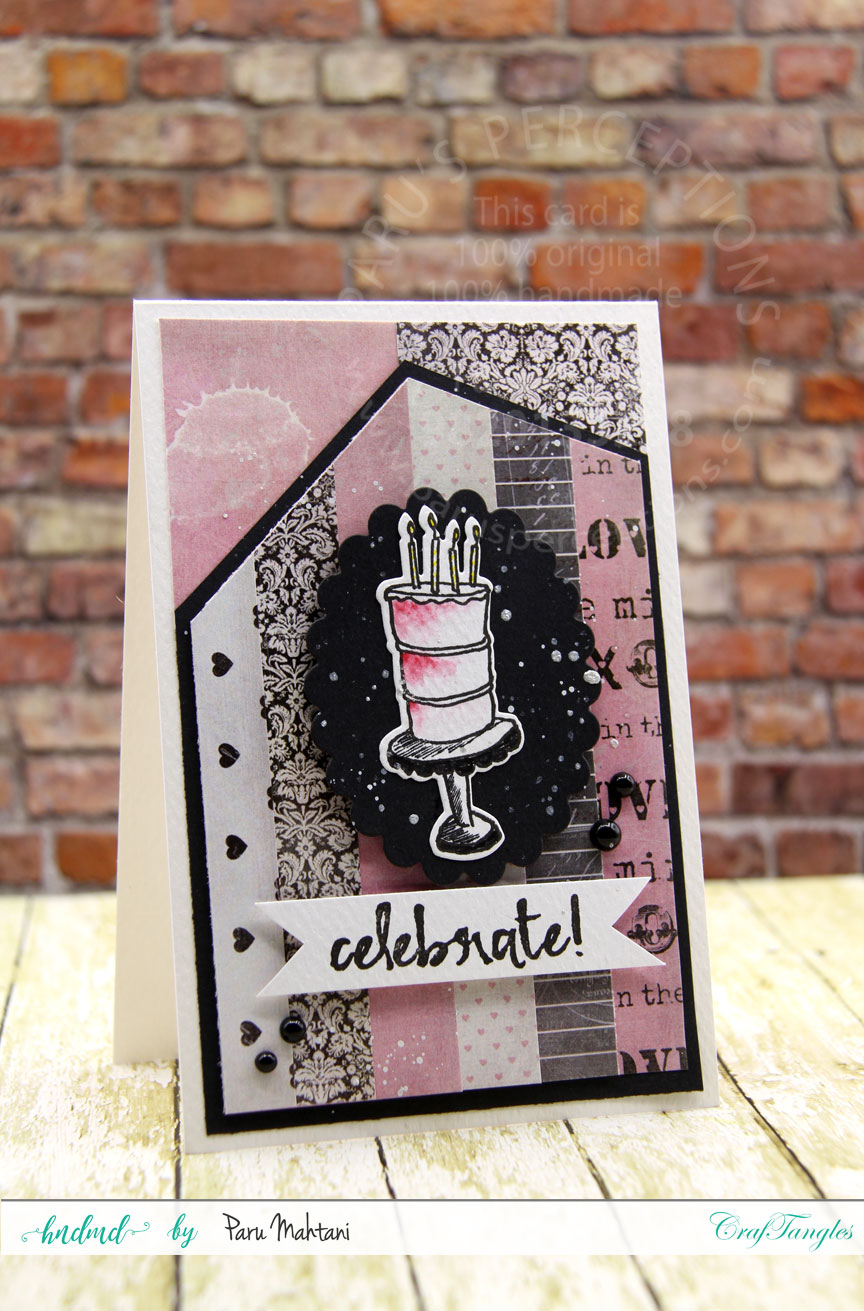
For the next card, I used up a few scraps. 
I cut the scraps into strips (from the Craftangles "All for Love" stamp set) and layered them to create a panel. 
I then cut this panel at an angle to create some interest.
 I then matted this panel on a piece of black cardstock to make it pop.
Once this piece was cut to size, I added a couple of scraps of patterned paper as a final layer and adhered them all to the white card base.
I then stamped and die cut the cake (lightly watercoloured) from the Concord and 9th 'Eat Cake and Celebrate' stamp set, as well as the sentiment.
I felt, the image needed something to make it stand out so I die cut a piece of black cardstock with a scalloped oval die to place below the image.
Finally, I added some silver acrylic paint splatter and some black enamel dots to finish.

As you can see, I have used one paper pack to create two completely different of cards.


For the last two cards, I have used the Craftangles "Be My Valentine" paper pack.

For the first card, I die cut the word 'Happy' using the Winnie and Walter  word die
 out of the chevron patterned paper. 
I then cut it at an angle and layered it on the pink patterned paper. 
Then I inlaid the die cut bits into the word to make it readable.
I stamped and added the birthday sentiment and some lime green enamel dots to finish the card.


For the last card, I used the die cut from the card above and
 layered it with a piece of die cut fun foam to add dimension.
I created a background panel from Craftangles 'Earl grey' card stock,
 by stamping it with a Hero Arts background stamp and Memento 'London Fog' ink.
This created a tone on tone look.
I then layered this panel with a piece of red cardstock and adhered it to a white card base.
I finished the card with a birthday die cut (from Craftangles) and some white acrylic paint splatter.


I hope you enjoyed this blog post and will give these papers a try!
They are super fun!

Thanks for stopping by!
Have a great day!

Paru Mahtani

Sunday, October 1, 2017

October 17 challenge

Hello everyone!!!! 


Thank you so much for playing the "Rainbow" challenge in September!
I was so happy by the response! So many beautiful cards!

Here is the October challenge!
Make a card or tag with a touch of gold.


HOW TO PLAY

Make a card or tag using the theme given. 
Take a photo of your creation and link it up below.
If you have a blog, write a post about our challenge and link it back to our challenge, including photos of your card or tag.
Please display this storyboard prominently in your blog post so that others may be inspired to play.

ALSO, please display this logo prominently on the sidebar of your blog so that others may join us.


FOLLOW/JOIN  THIS BLOG
 FOLLOW US ON FACEBOOK AND INSTAGRAM AND TAG YOUR SUBMISSIONS ON SOCIAL MEDIA WITH THE TAG
#PCMCHALLENGES

If you don't have a blog, post your photos on social media and TAG them with #PCMCHALLENGES
If you don't tag them, we will not see them on social media.

Link your blogpost/social media post to the linky below.


Now for some inspiration...

To make a touch of  gold tag, I first printed out a cardstock sheet of toner , which, I used to die cut the Spellbinders peacock feather.


I then used two different colours of Craftangles foil on this die cut.


Here is the beautiful result.


To make the tag, I used a scrap of blue cardstock to die cut a PaperTreyInk bookmark. I had previously stamped this scrap with peacocks to create a tone on tone look.
I then adhered the foiled die cut to the tag and added a blue ribbon to complete the tag.
Beautiful isn't it?


For the card, I used Simon Says Stamp Stitched square dies to cut two nesting squares out of the 'Colours of India' 6"x6" paper pack from Craftangles.
I then cut the final square out of green cardstock and heat embossed a mandala from the newly released 'Happy Diwali' stamp set from Craftangles, in gold.
I finished the card by adding a bit of May Arts ribbon with a golden bell for fun!


To Inspire you some more...

My very dear friend and cardmaking superstar
Neha Bhatt is my Guest designer this month
and she has some fabulous cards to inspire you!


Hi Crafty Friends,
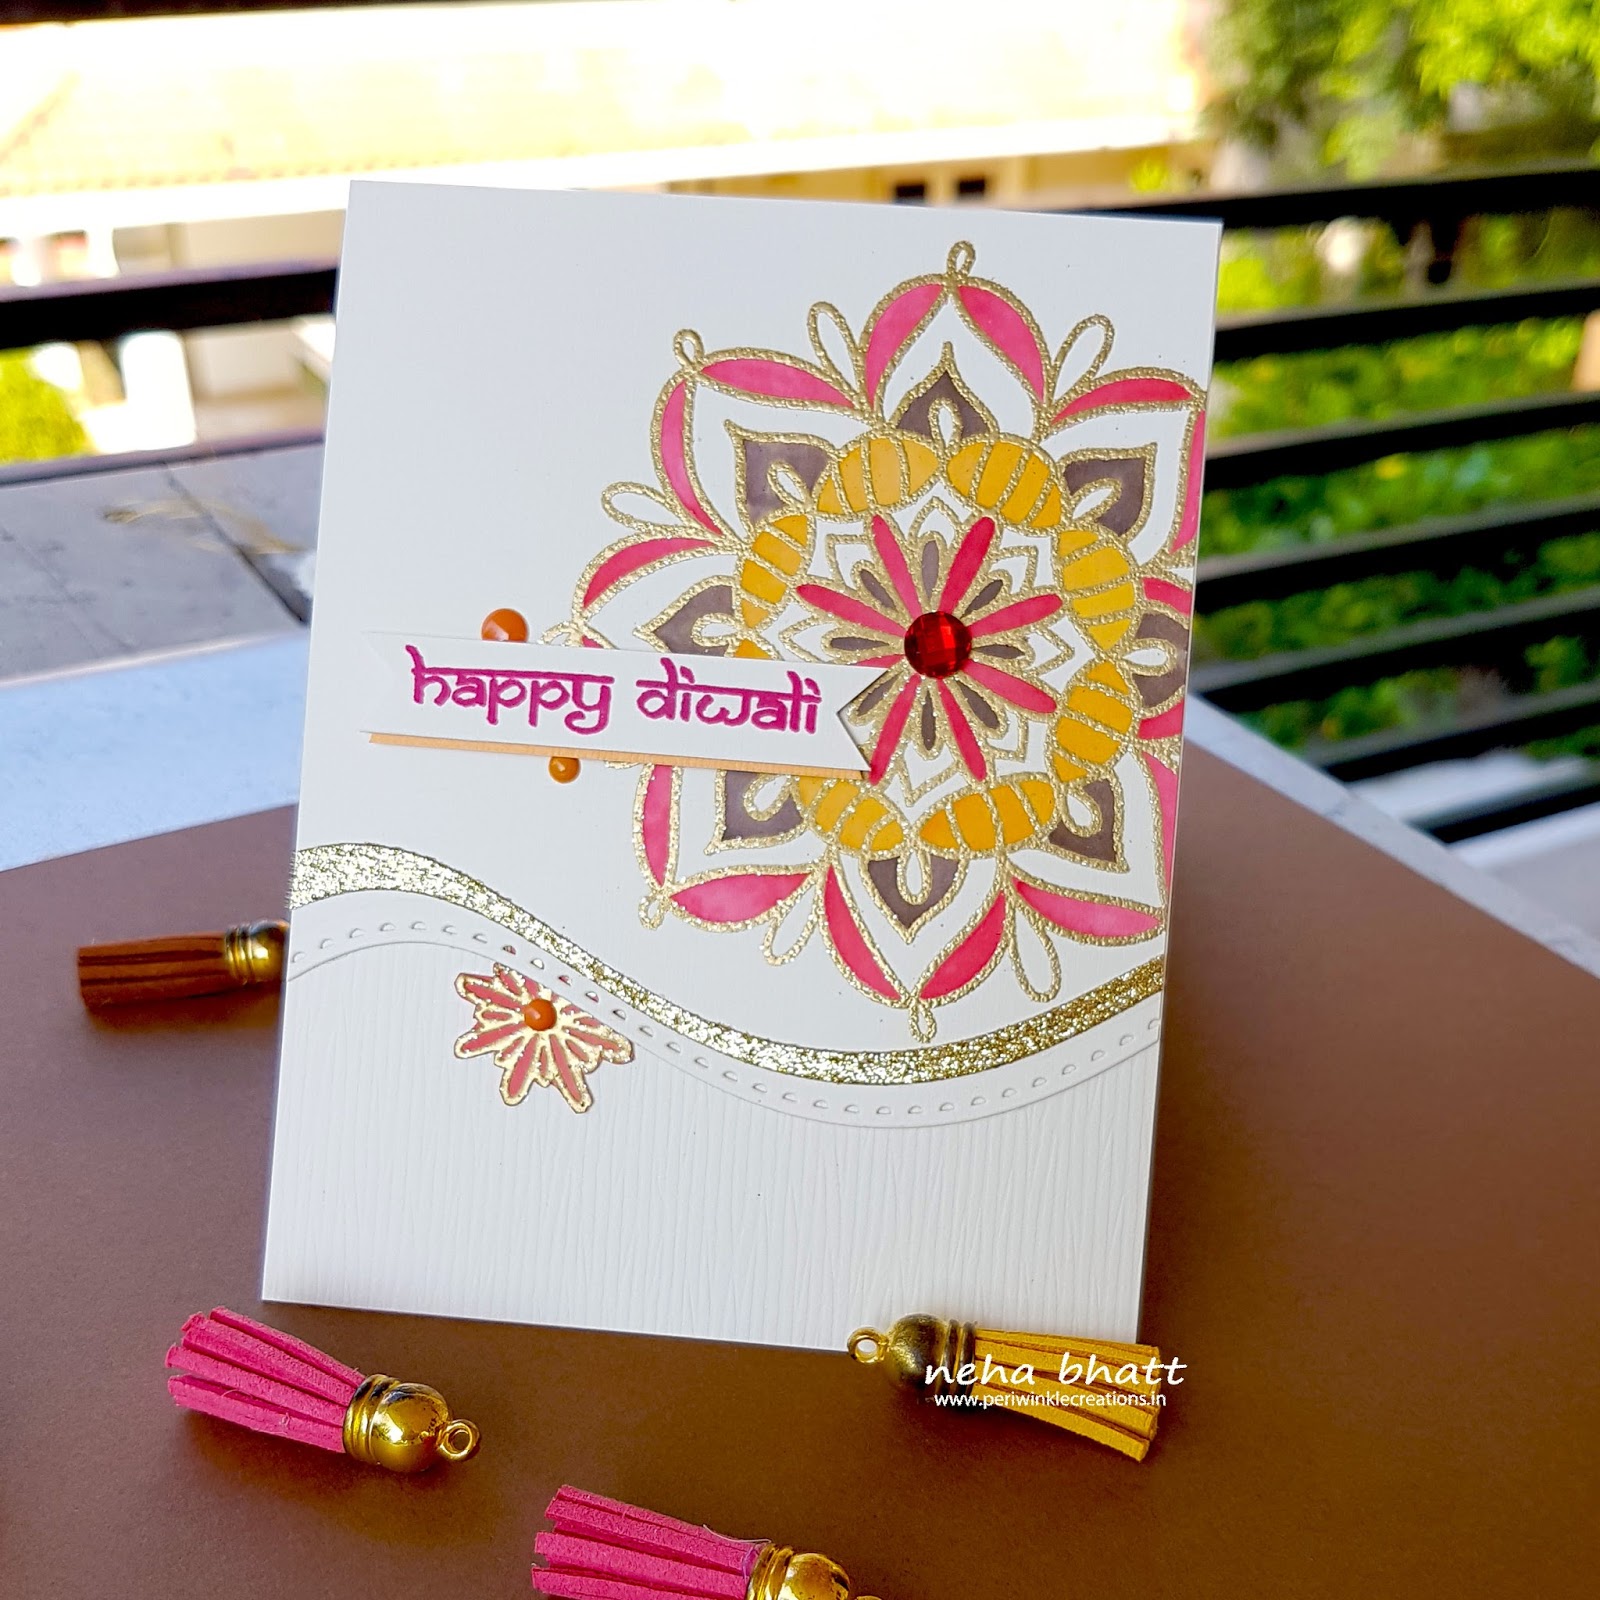
I am back on my favourite challenge blog once again! The theme is “Touch of Gold”. With Diwali
approaching, I decided to make a card and a tag for the festive season.


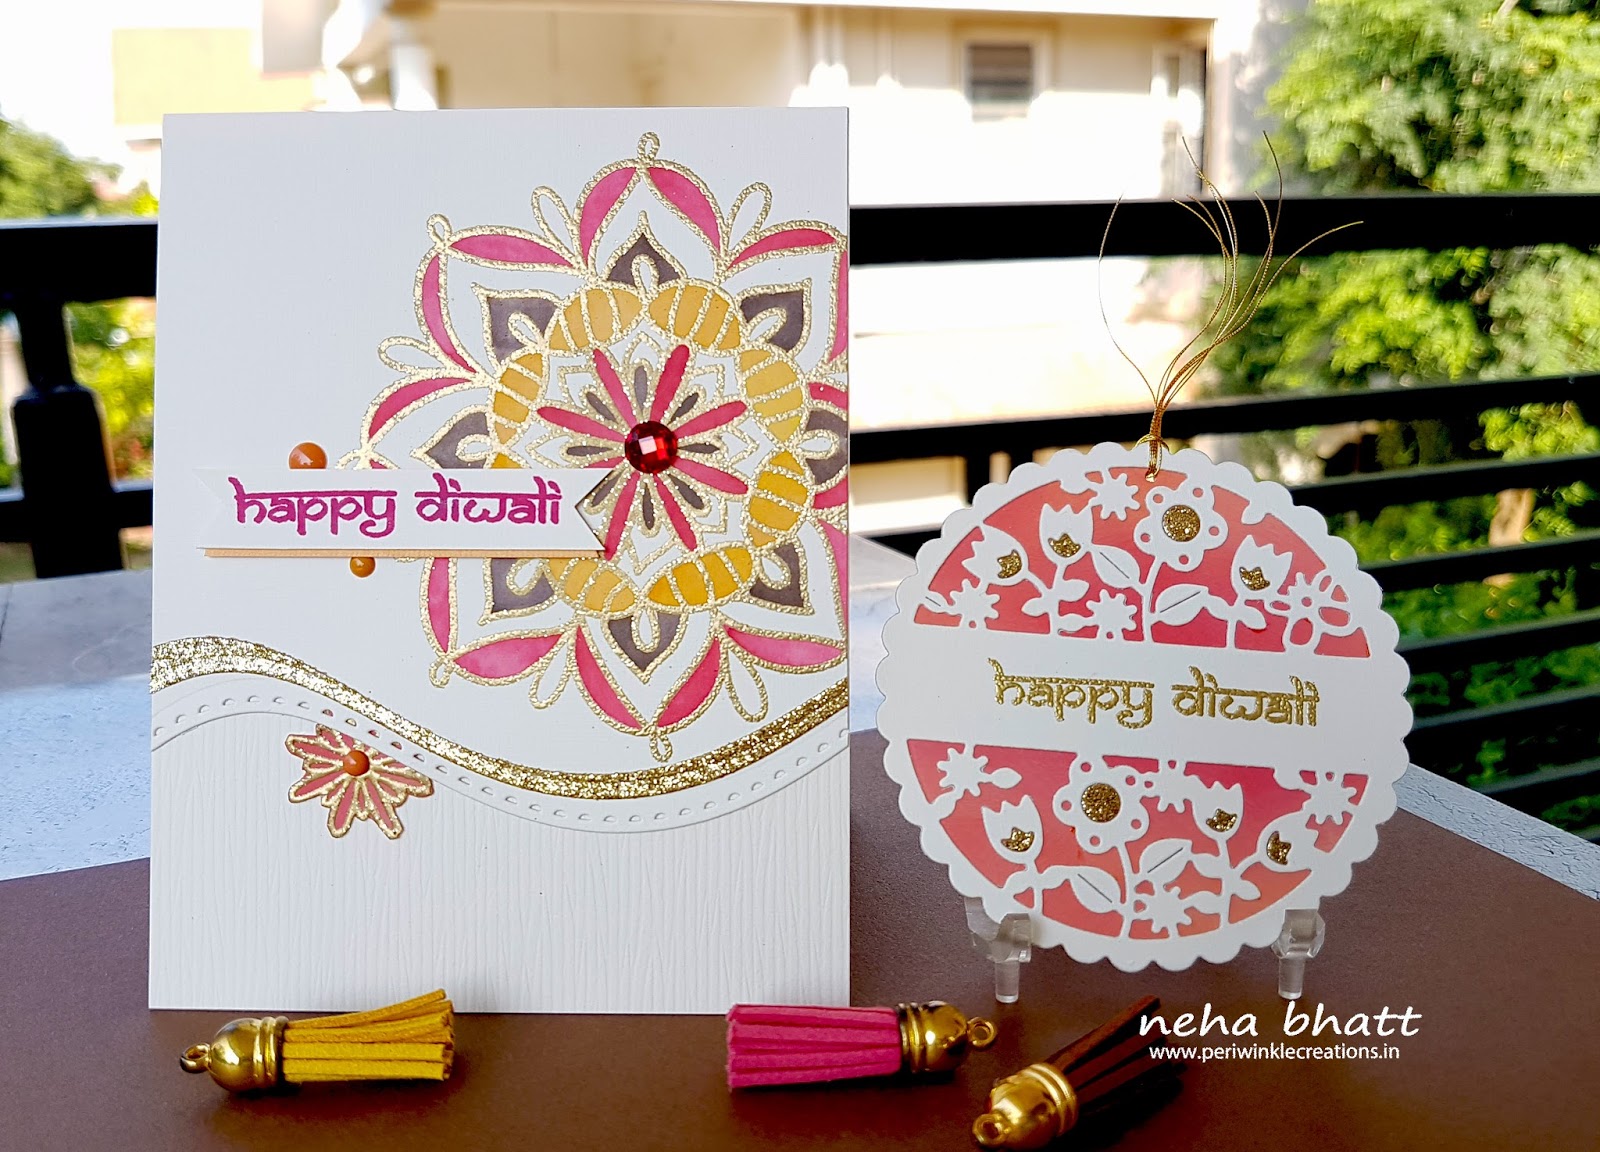
For the card, I have used waffle flower’s Lacy Flower stamp as rangoli!
I embossed it with glitter gold
embossing powder by Brutus Manroe. It is hard to capture the jazzy look of it but it looks gorgeous
in person. I cut the panel using spellbinder die. To color the Rangoli, I used Candied Apple, Ground
Espresso and spiced marmalade distress inks. The sentiment is from Ranganjali. A thin wavy stripe of
golden glitter paper is added. A small floer from the same set is embossed, colored and tucked under
the panel to balance the design. I mounted the panel on similar colored but textured card base.


Tag is created using Papertrey Ink die. I lined the back side with a circle die cut blended using Candied Apple Distress oxide . I inlaid few flower centres, die cut using glitter paper. To finish it off, embossed sentiment in gold & tied some golden threads.


I hope you are inspired with my creations and will play along!
Thank you Paru for this opportunity! Wish to be back soon! Have a crafty festive season !
Hugs.

To further inspire you,
we  have two beautiful cards from  the design team over at
Peek-a-boo designs,
our generous sponsors this month!
You can read more about these cards here.
..


Stunning aren't they!
Hope you have been inspired!! come on over and play!


THE PRIZES
This month we have TWO fabulous prizes from
Peek-a-Boo designs!

One Rs. 1500 ($20) and one Rs.750 ($10) gift card!


The winner will be announced on the 28th of October, so don't forget to stop by!

Please link up your creations here.

To be eligible to win a prize, please follow all the instructions carefully...
you will find them above and in under 'how to play' in the right sidebar.

I am linking up my creations to the 
Simon Says Stamp Monday 'Heavy metal' challenge

 
and 
the Simon Says Stamp Wednesday 'Anything Goes' Challenge

Thanks so much for stopping by...
Have a great day and have lots of fun!!

Paru Mahtani


Saturday, September 30, 2017

Shubh Laabh!

Hello! 
Today I am playing with two of the Craftangles September release stamps sets, 

For my first card, I decided to create a background using the mandala in the 'Diwali wishes' stamp set. First, I used my Misti to stamp the goddess Lakshmi image from the 'Shubh Laabh' onto smooth white card stock. I then created a mask using 'Mudra' masking paper and masked out the image.  I then used Tim Holtz 'spiced marmalade' distress oxide to stamp the mandala background. 
I then used my Sakura Koi watercolours to colour in the background so that the mandalas would pop further.
I intended to keep the Lakshmi image black and white, but, decided to add a bit of colour. so I decided to leave the lotuses white.
I finished the card by adhering some self adhesive gemstones and and a sentiment from the set.
I just love how this card turned out!